
Layers and Placeholders
A Layer groups part of a Flow behind input and output pins. Open the Layer to edit its nodes while keeping the parent graph readable. A Placeholder is an empty Layer: define its connections first, then implement its behavior.
Collapsing Existing Nodes into New Layers
Section titled “Collapsing Existing Nodes into New Layers”Select two or more nodes and collapse them into a Layer to group a related part of the workflow:
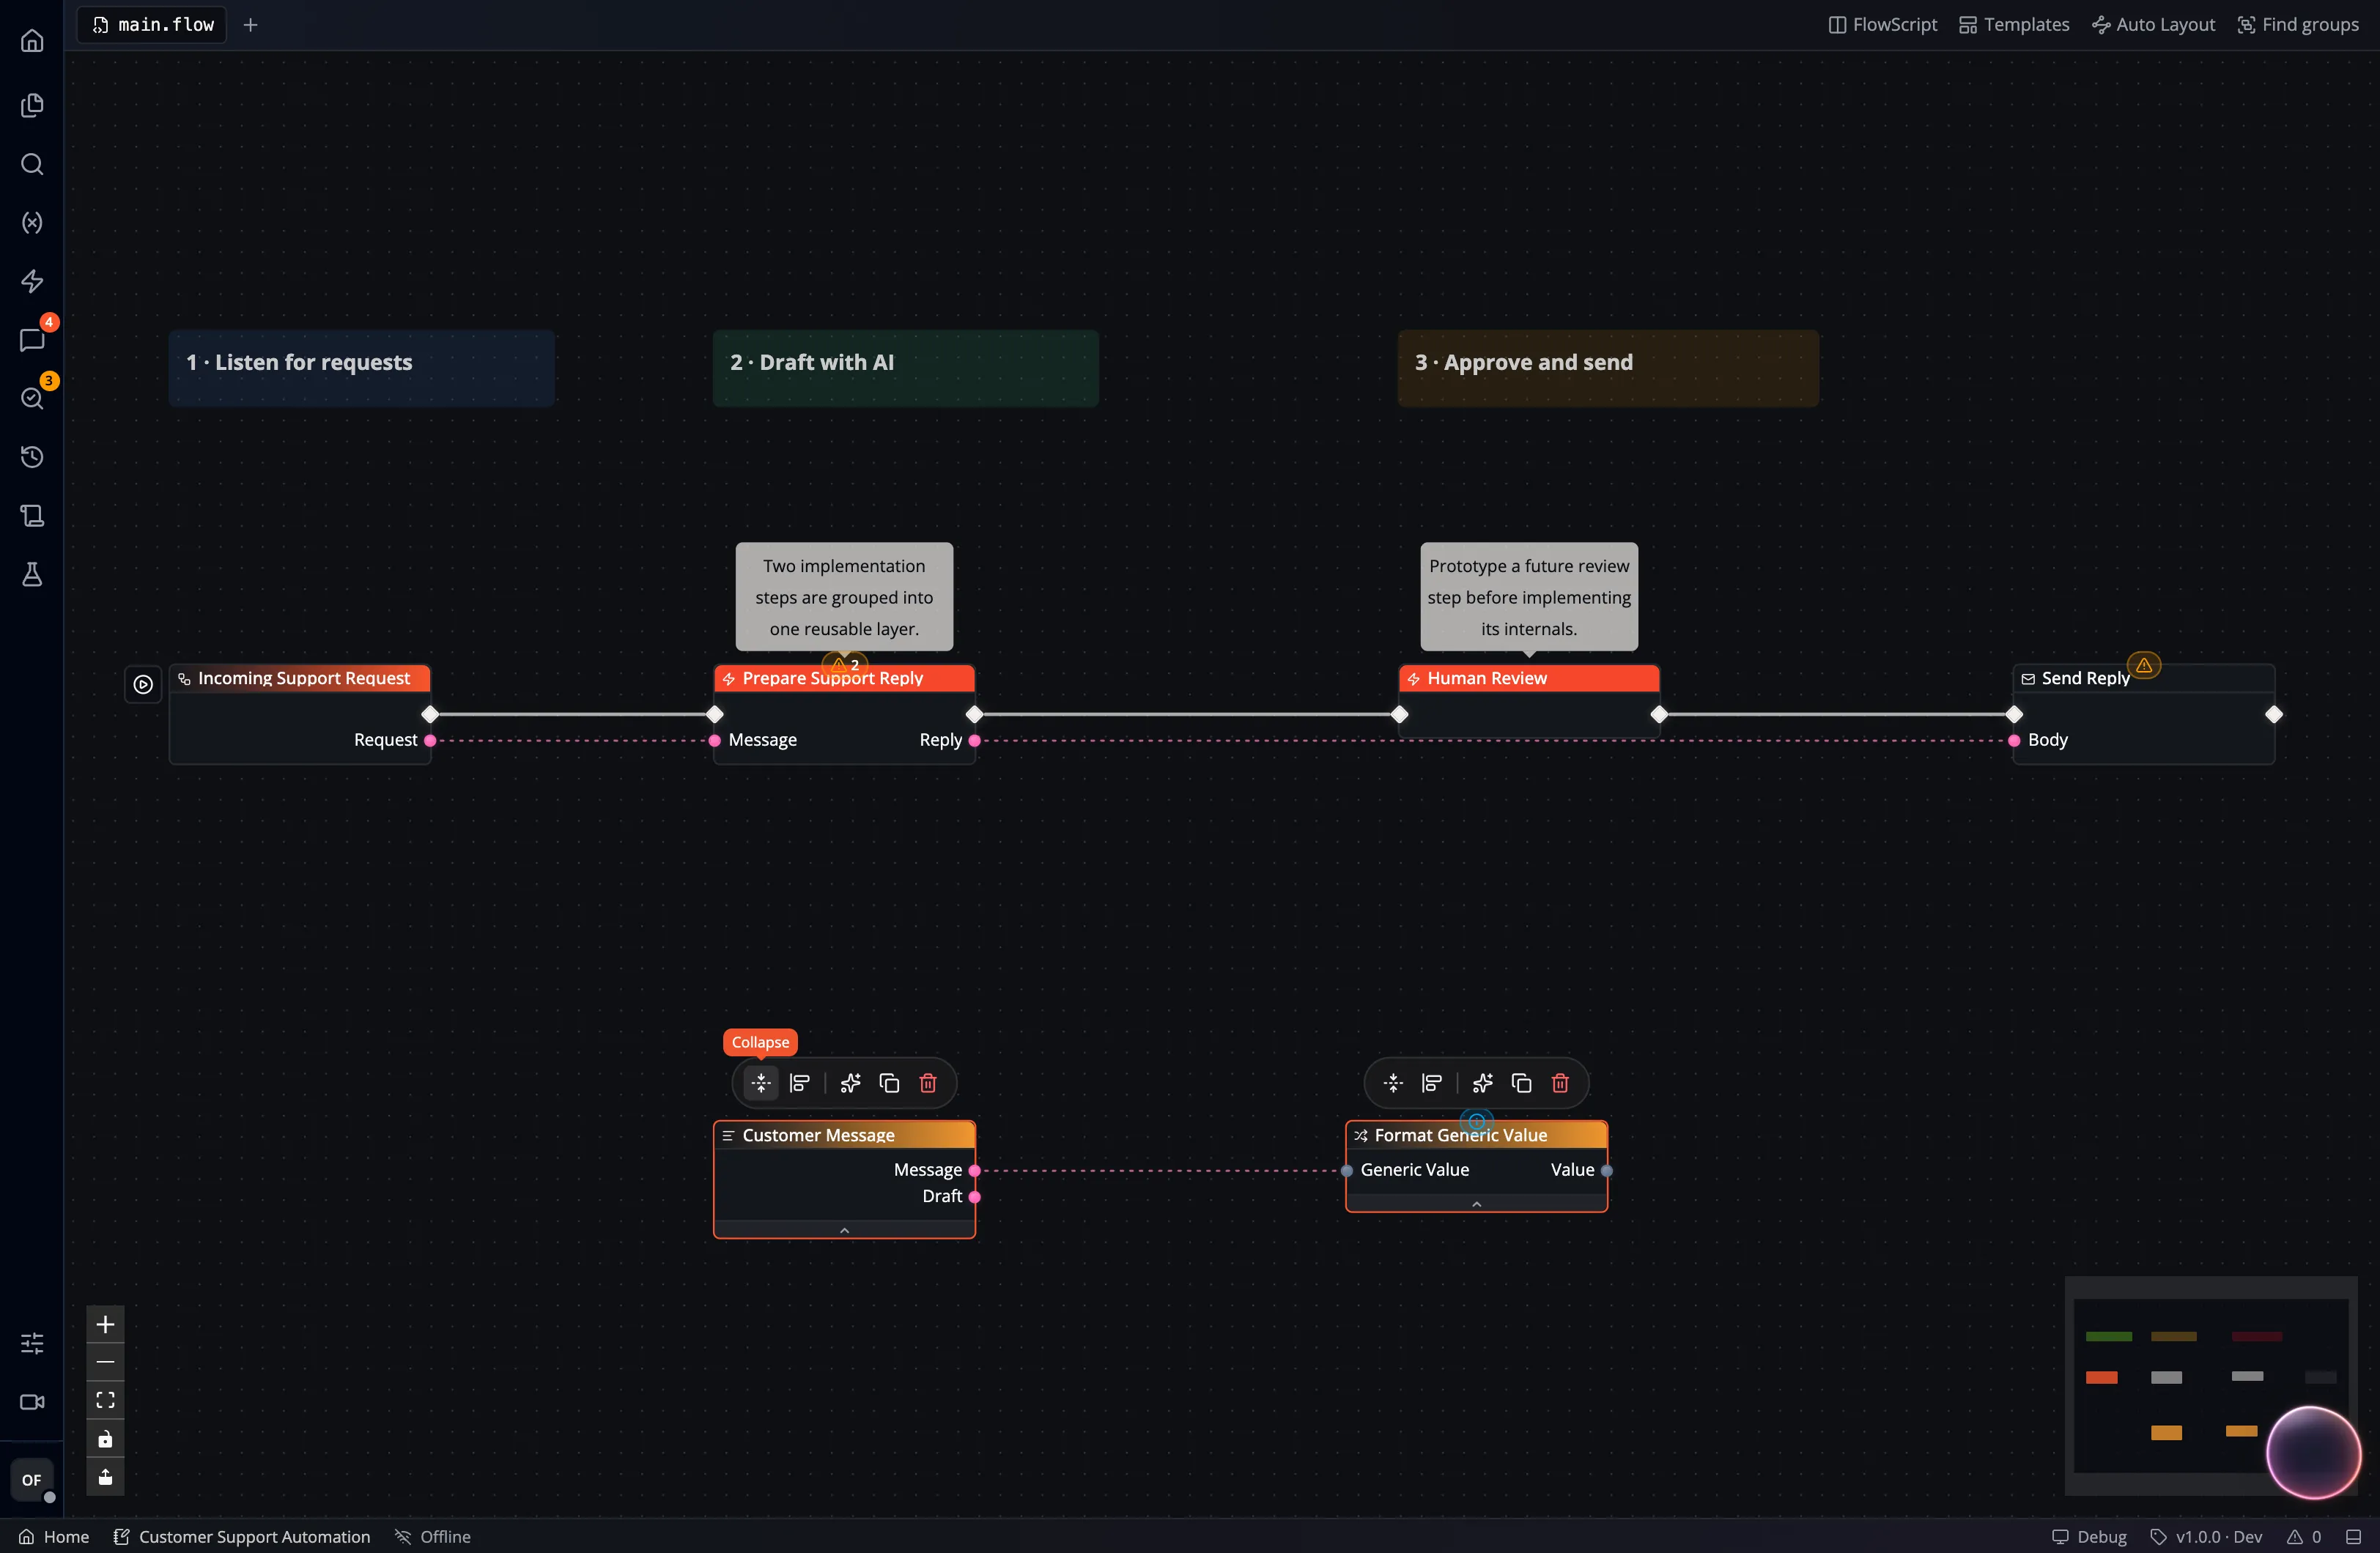
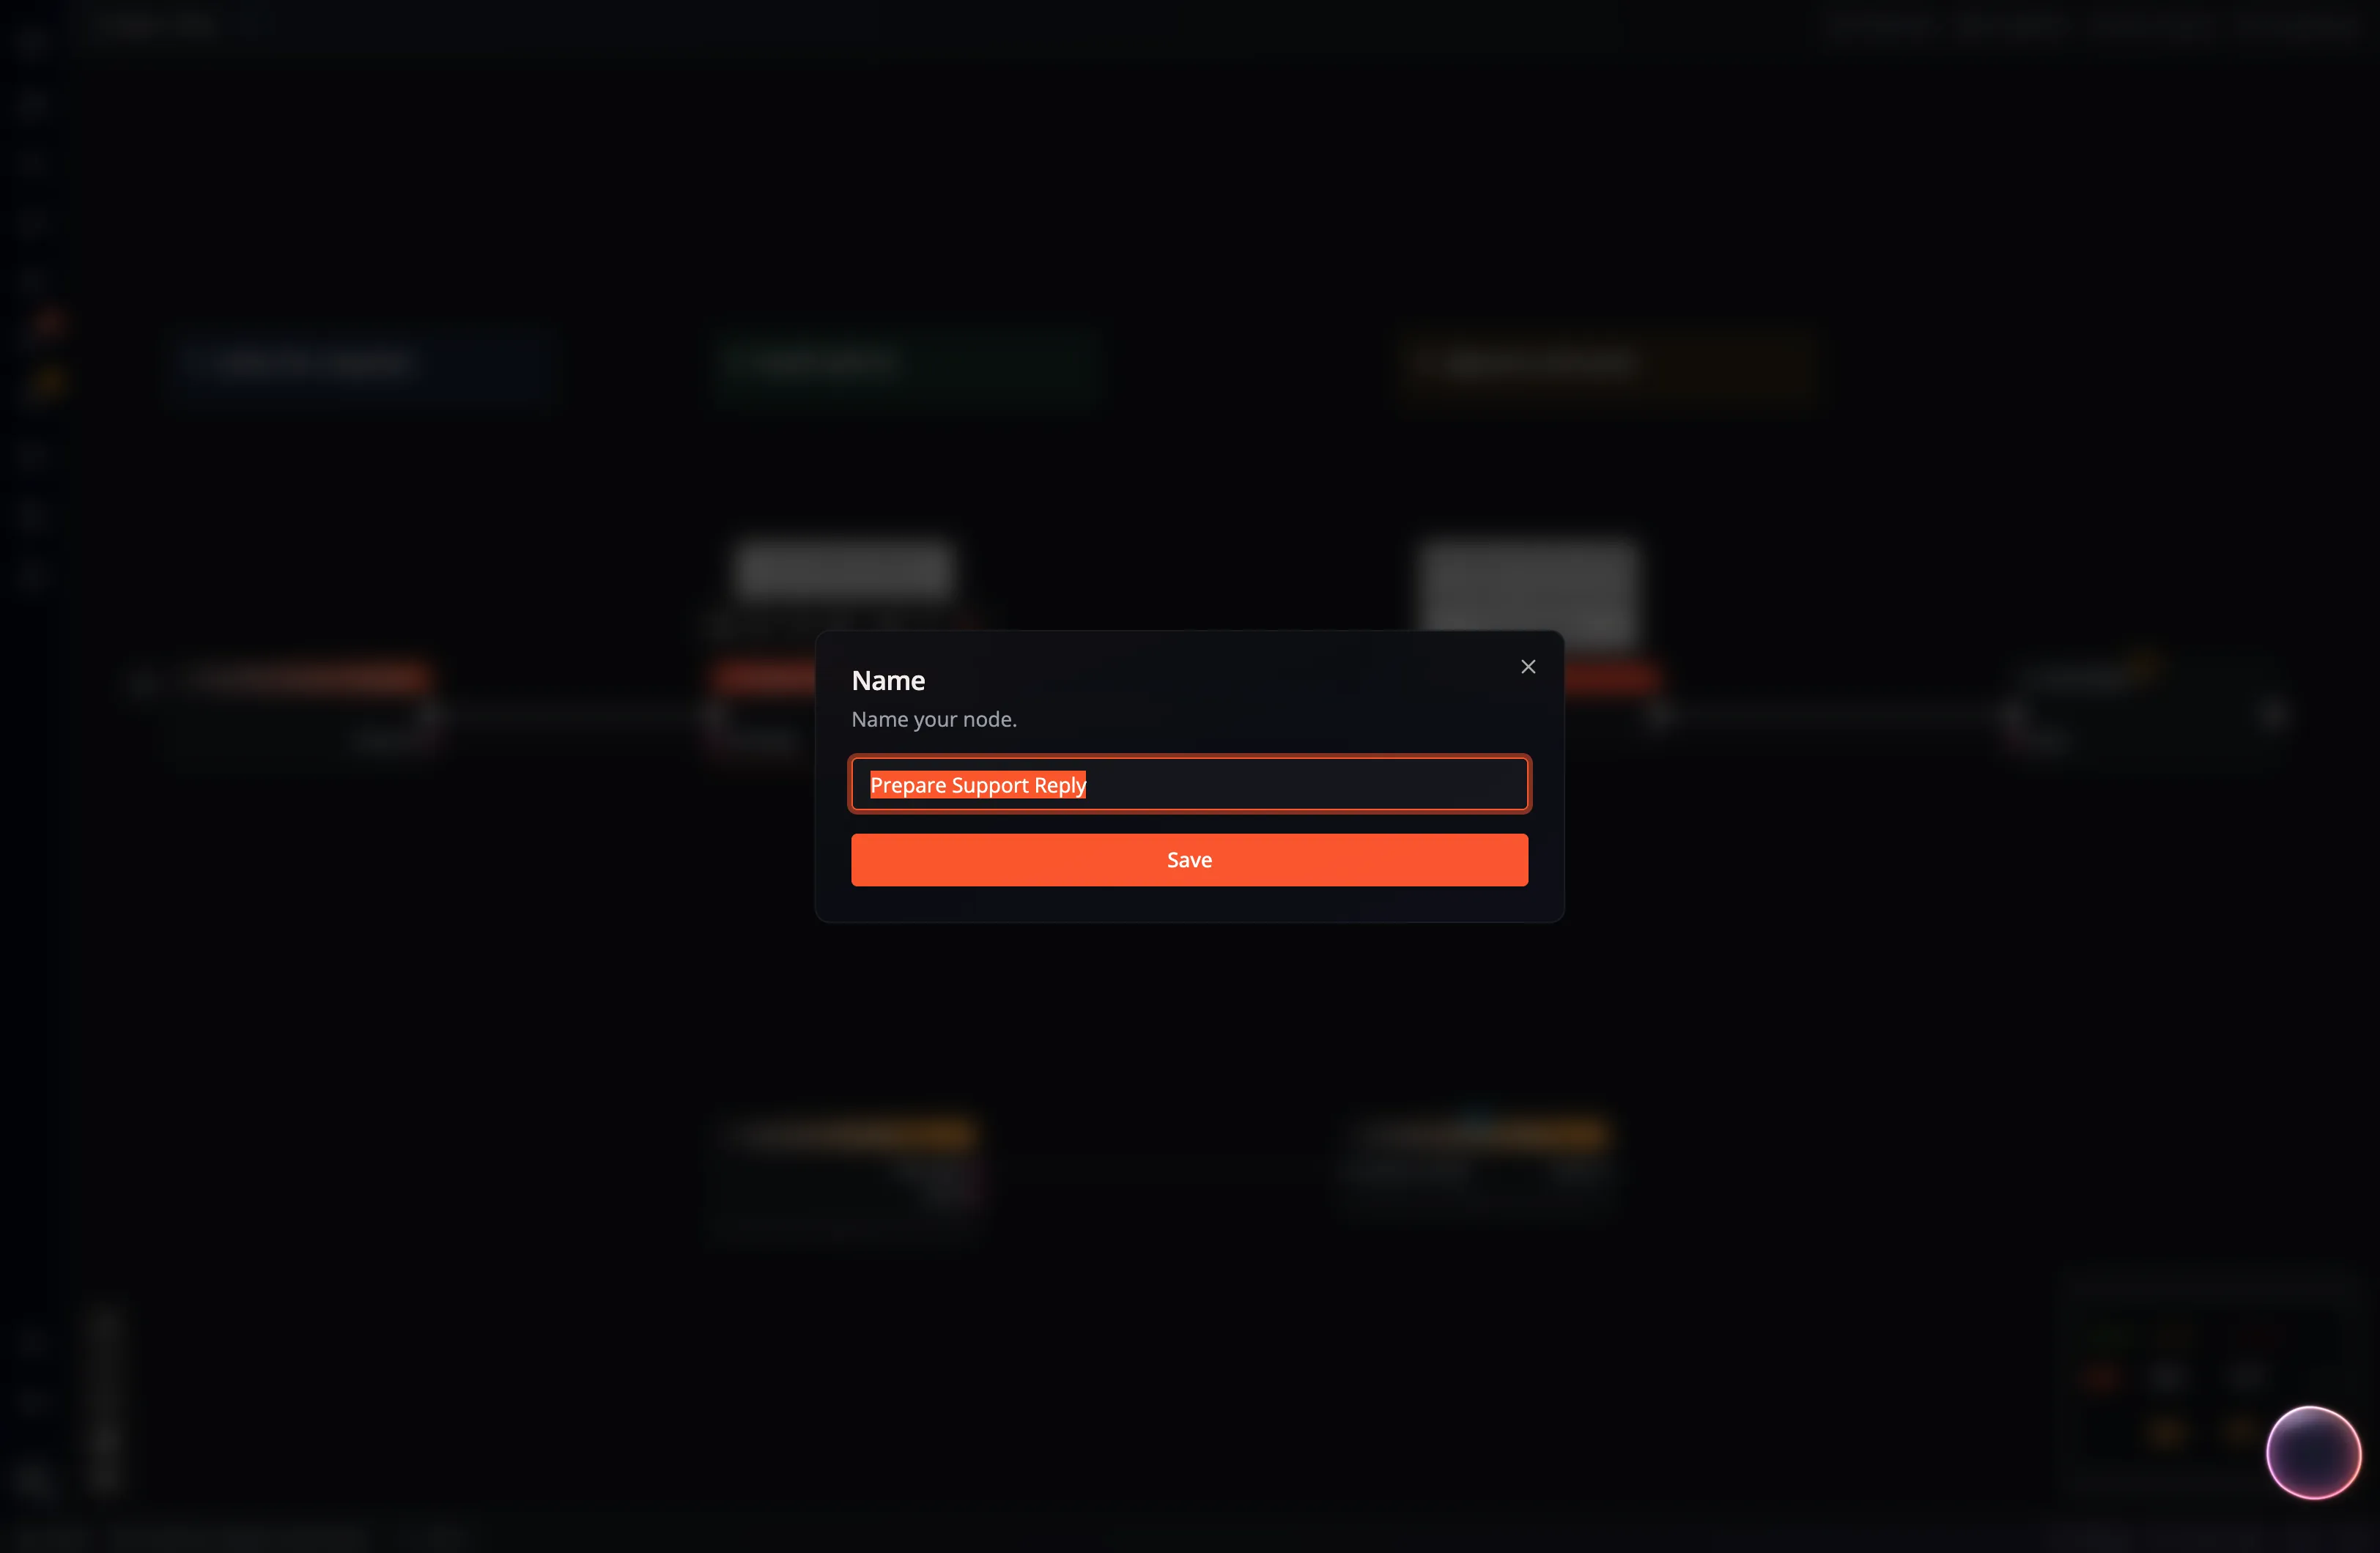
The resulting collapsed Layer is represented by a Placeholder node that can now be renamed to describe what is happening inside:
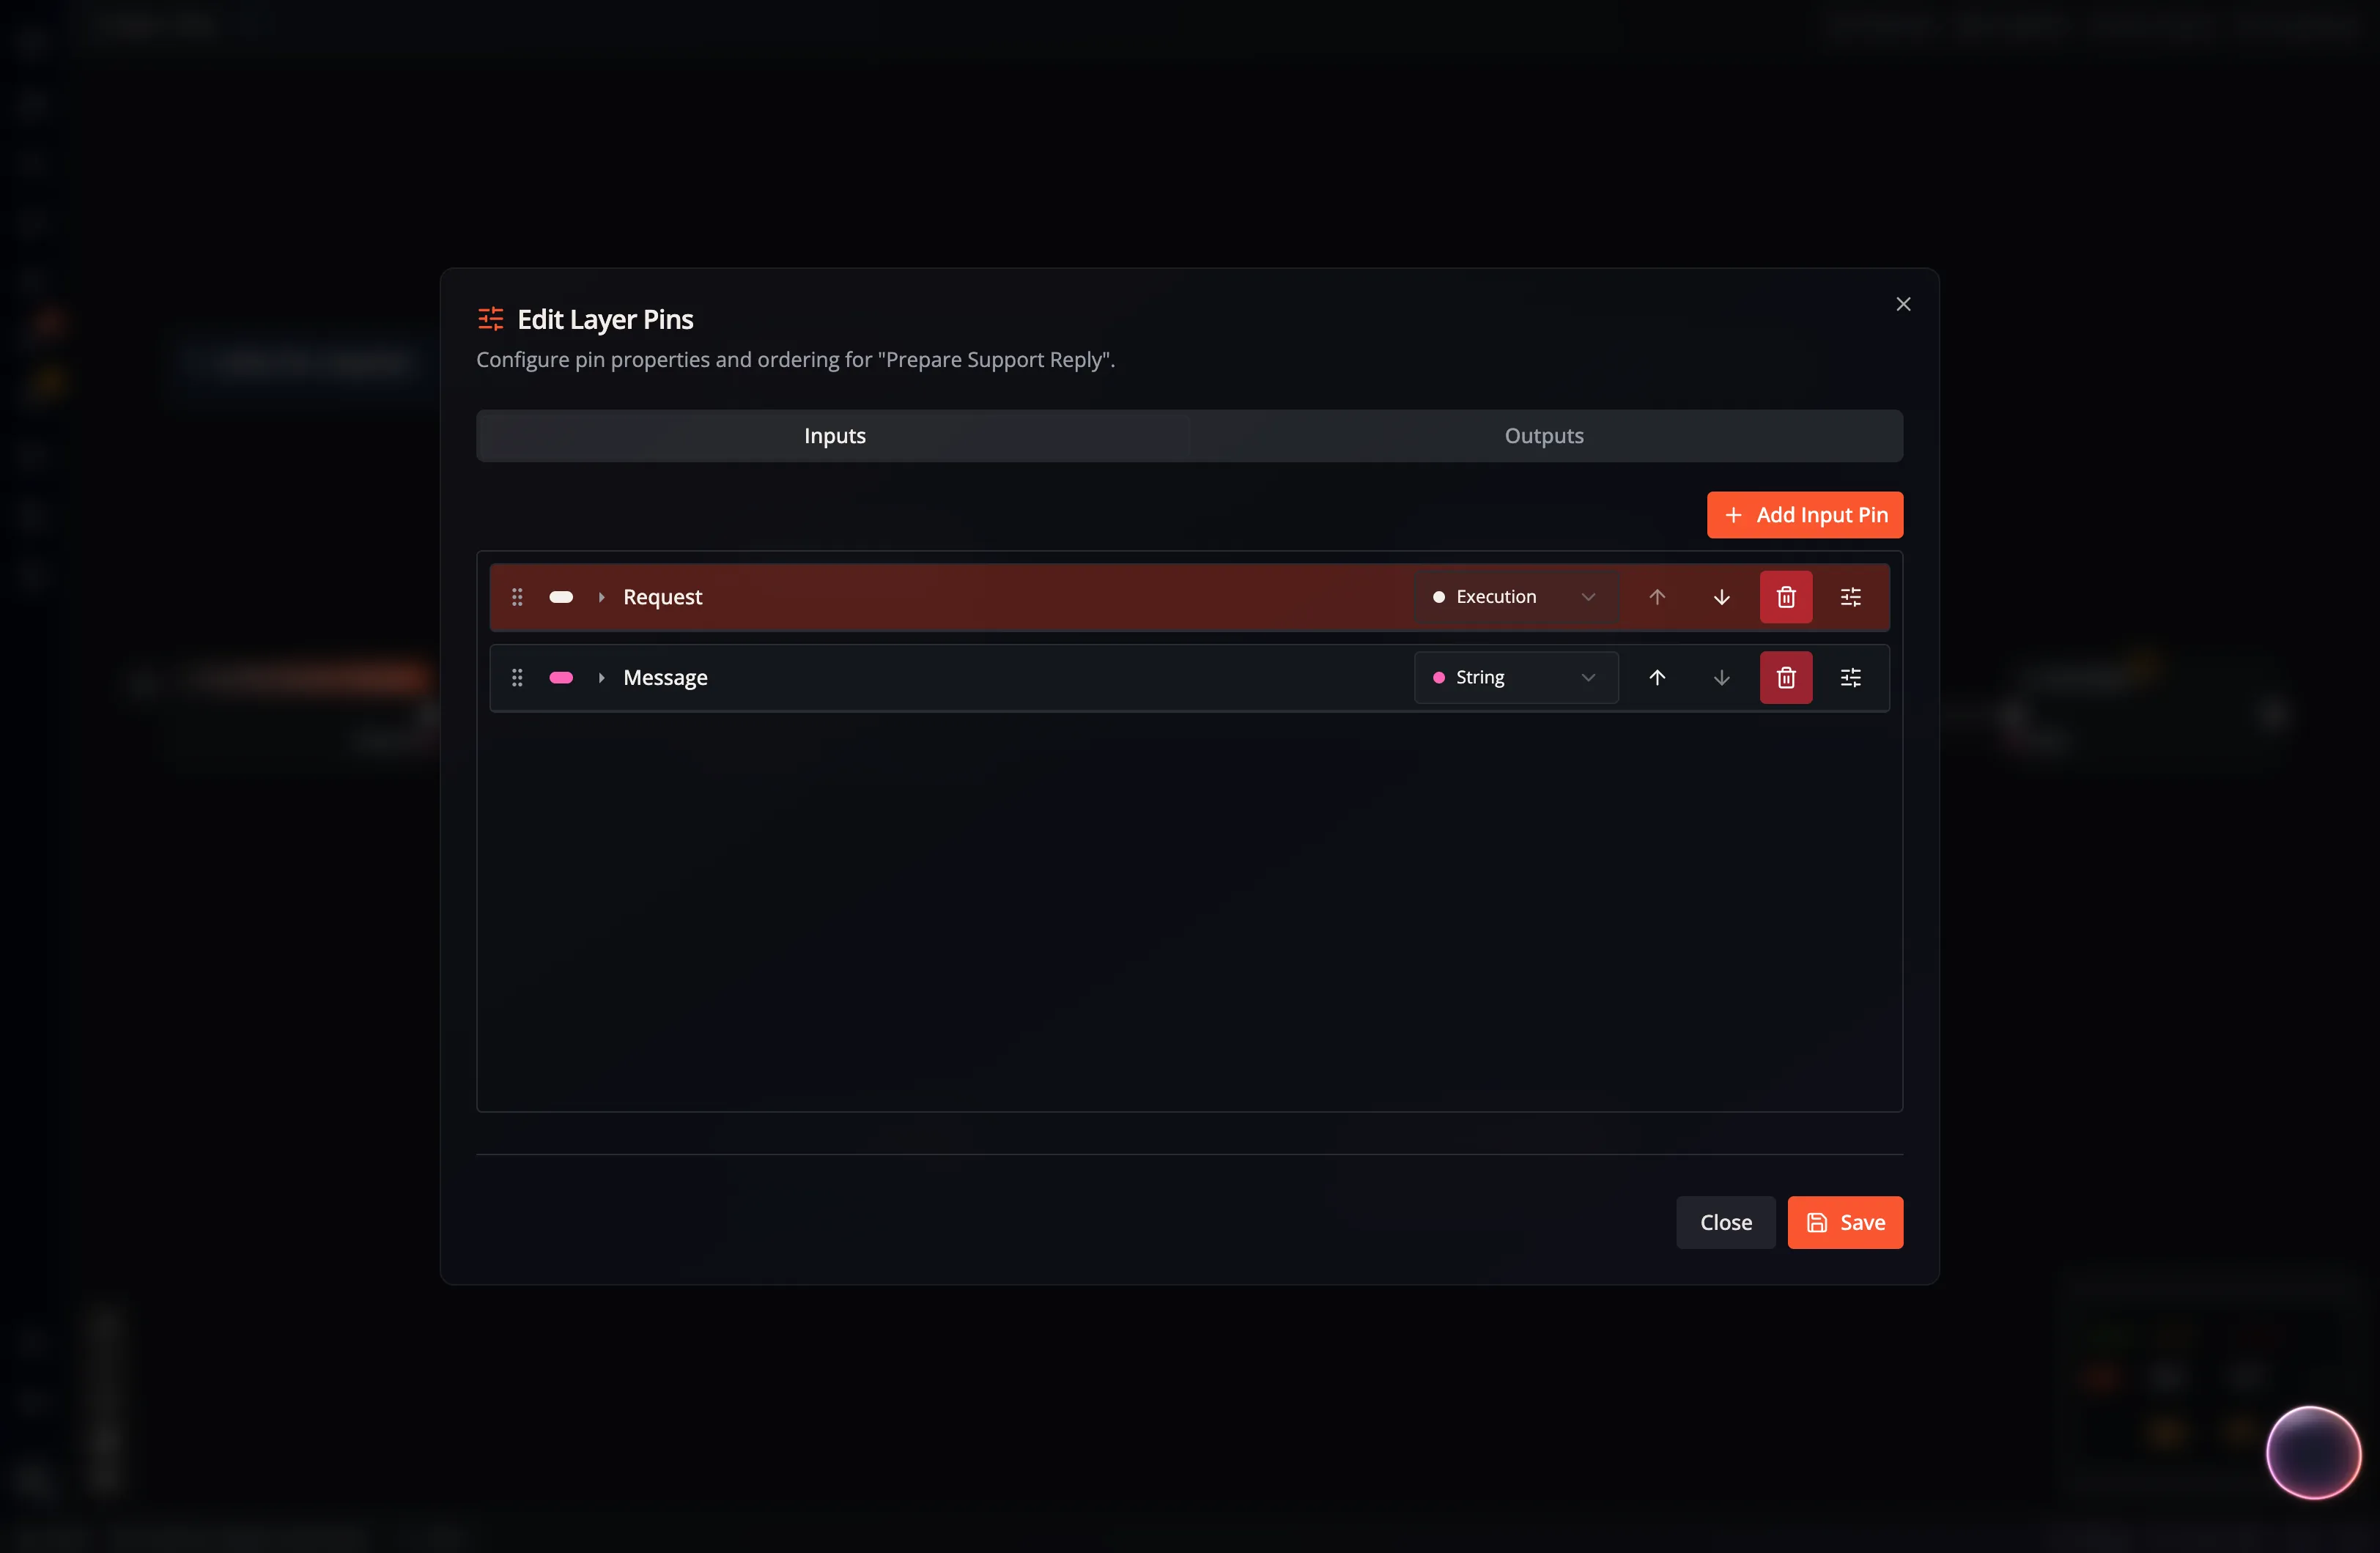
Once created, you can also edit the input and output pins of a layer to either change the type or modify the pin names:
Double-clicking a layer / placeholder node allows you to navigate inside. Here you can see the part of the flow that was previously collapsed. Inputs and outputs connecting the inside to the outside are represented by start and return nodes:
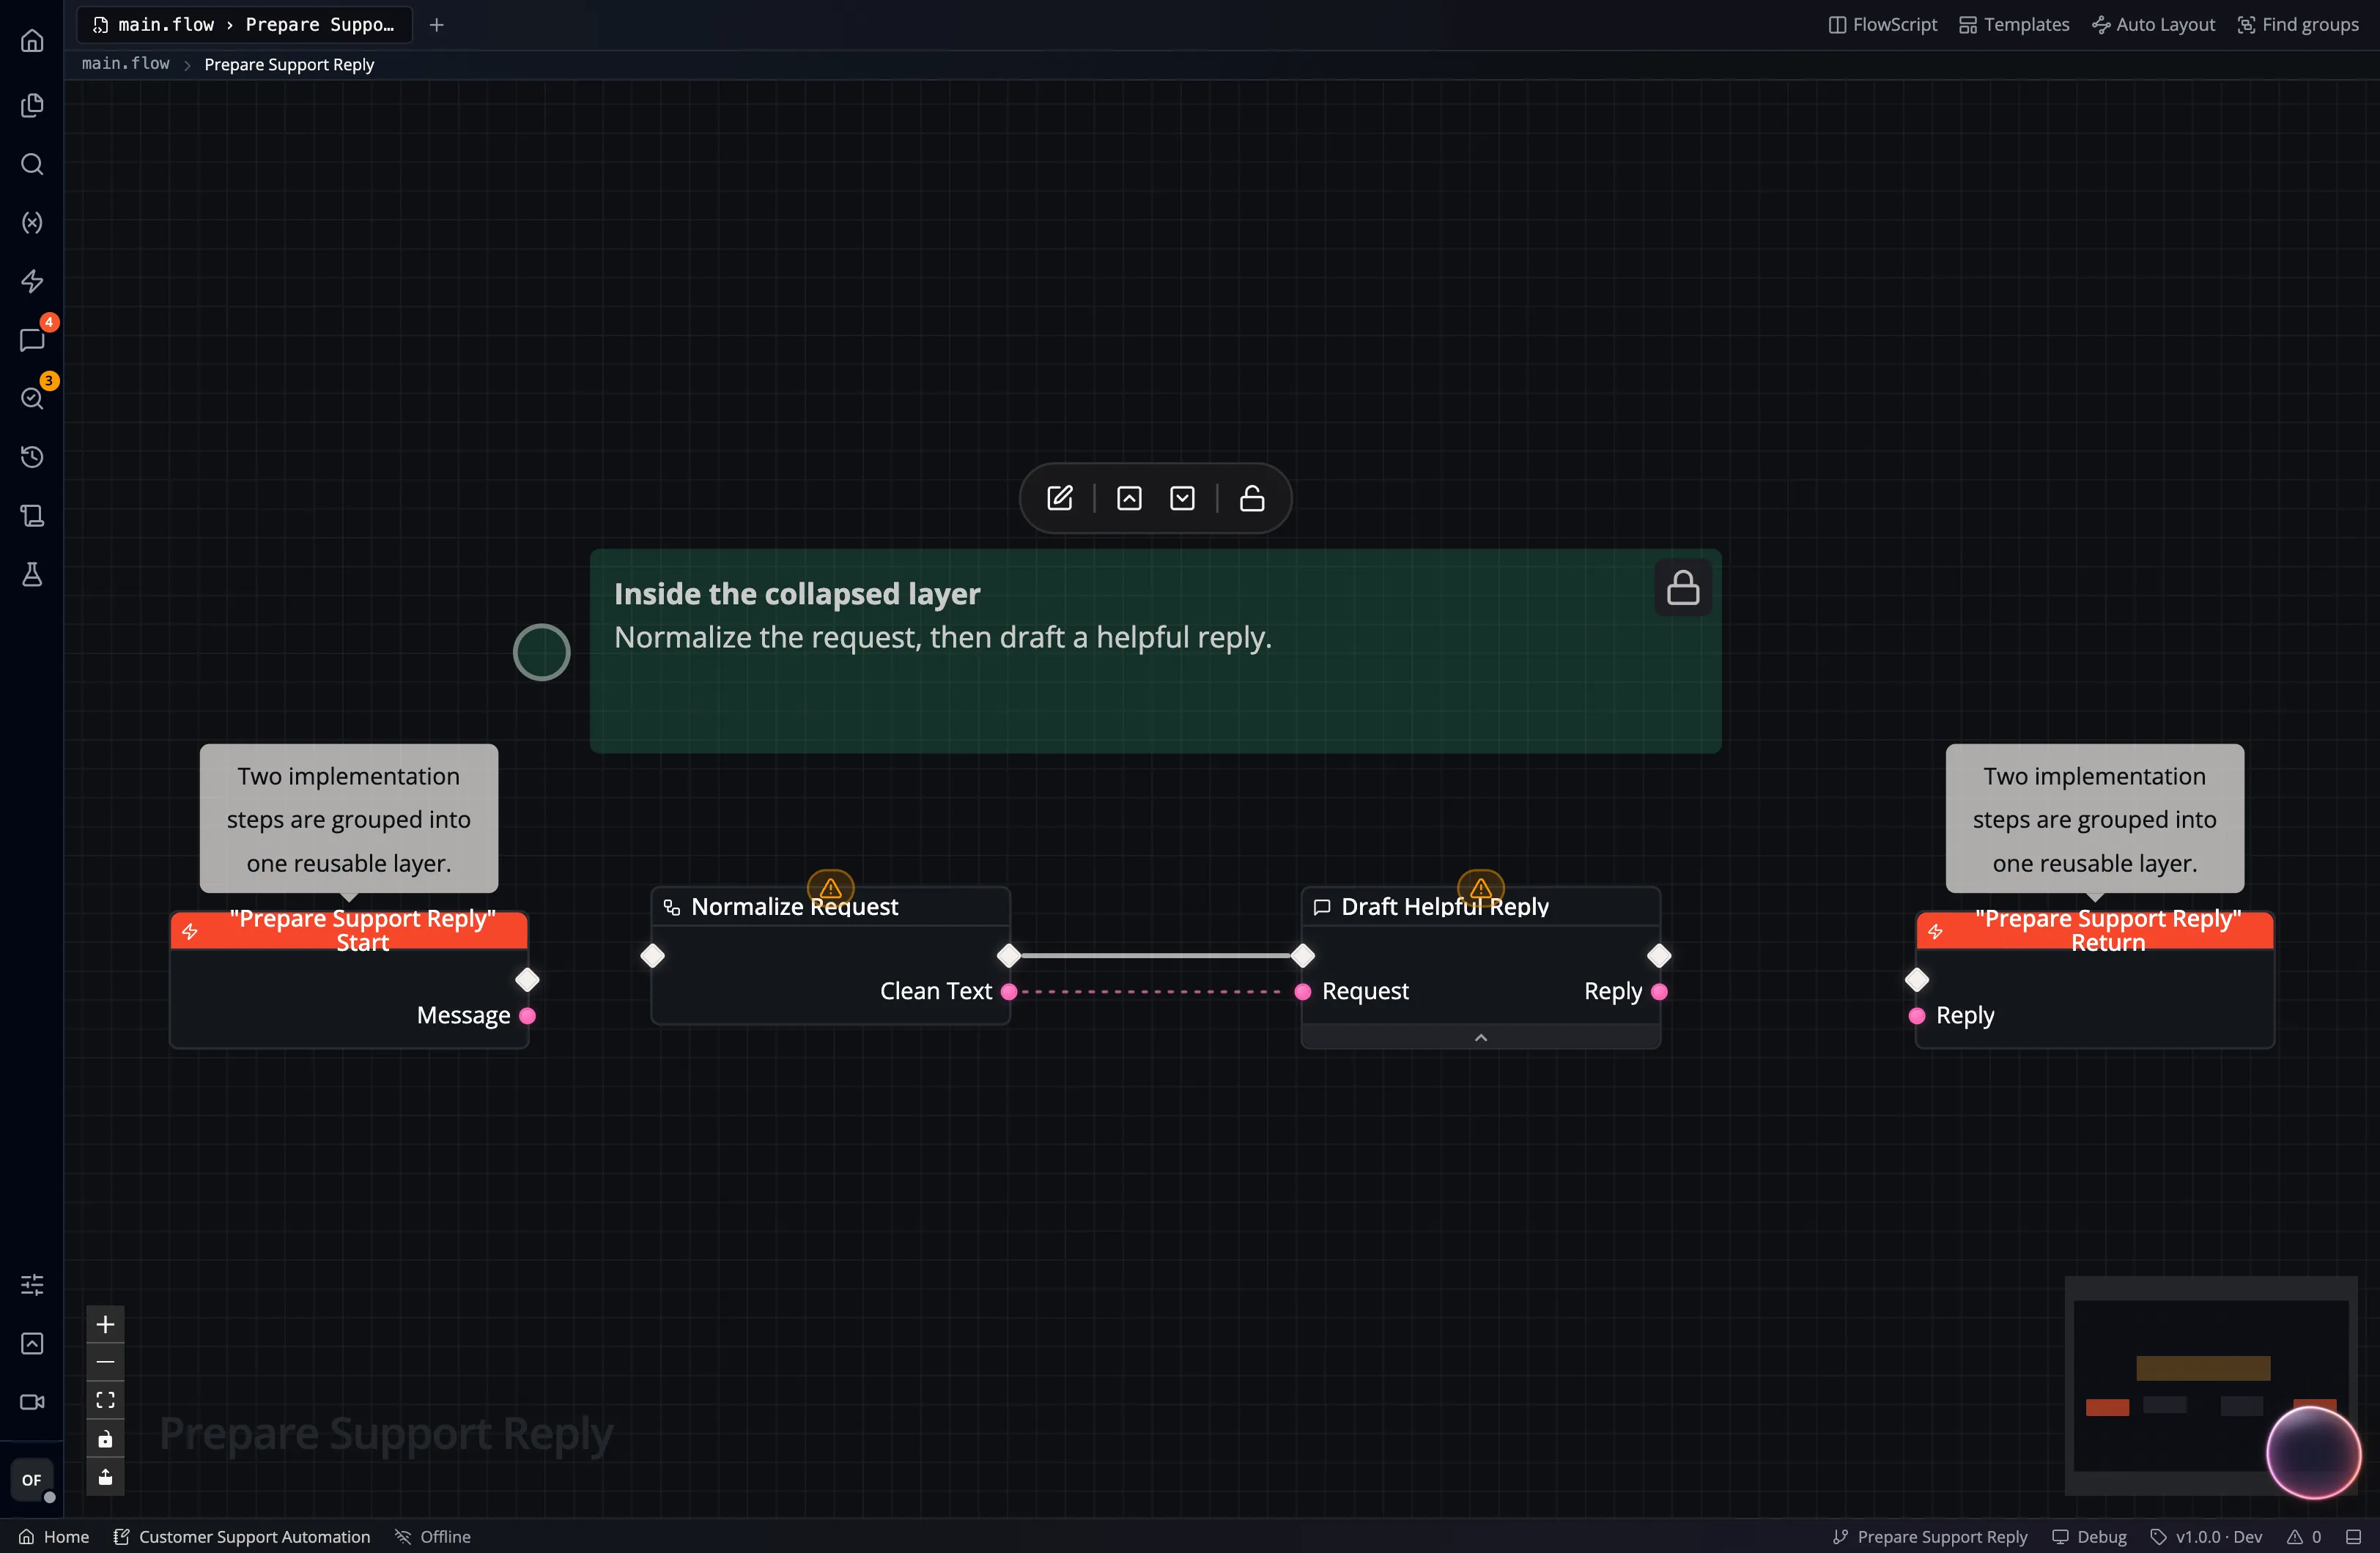
A layer gets one pin per value that crosses its boundary, not one per connection. An output outside that feeds five nodes inside becomes a single input, named after that output, which fans out to all five. Extend (Ungroup) puts the nodes back and wires them to each other directly again.
The parent graph shows the Layer’s name and the pins that cross its boundary:
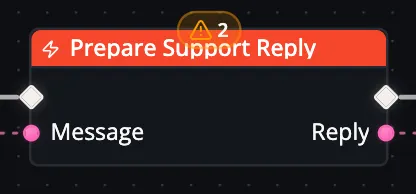
You can connect and copy Layers, or include them in another Layer.
Prototype with Placeholders
Section titled “Prototype with Placeholders”Select Placeholder from the node catalog. Rename it and edit its pins as described above:
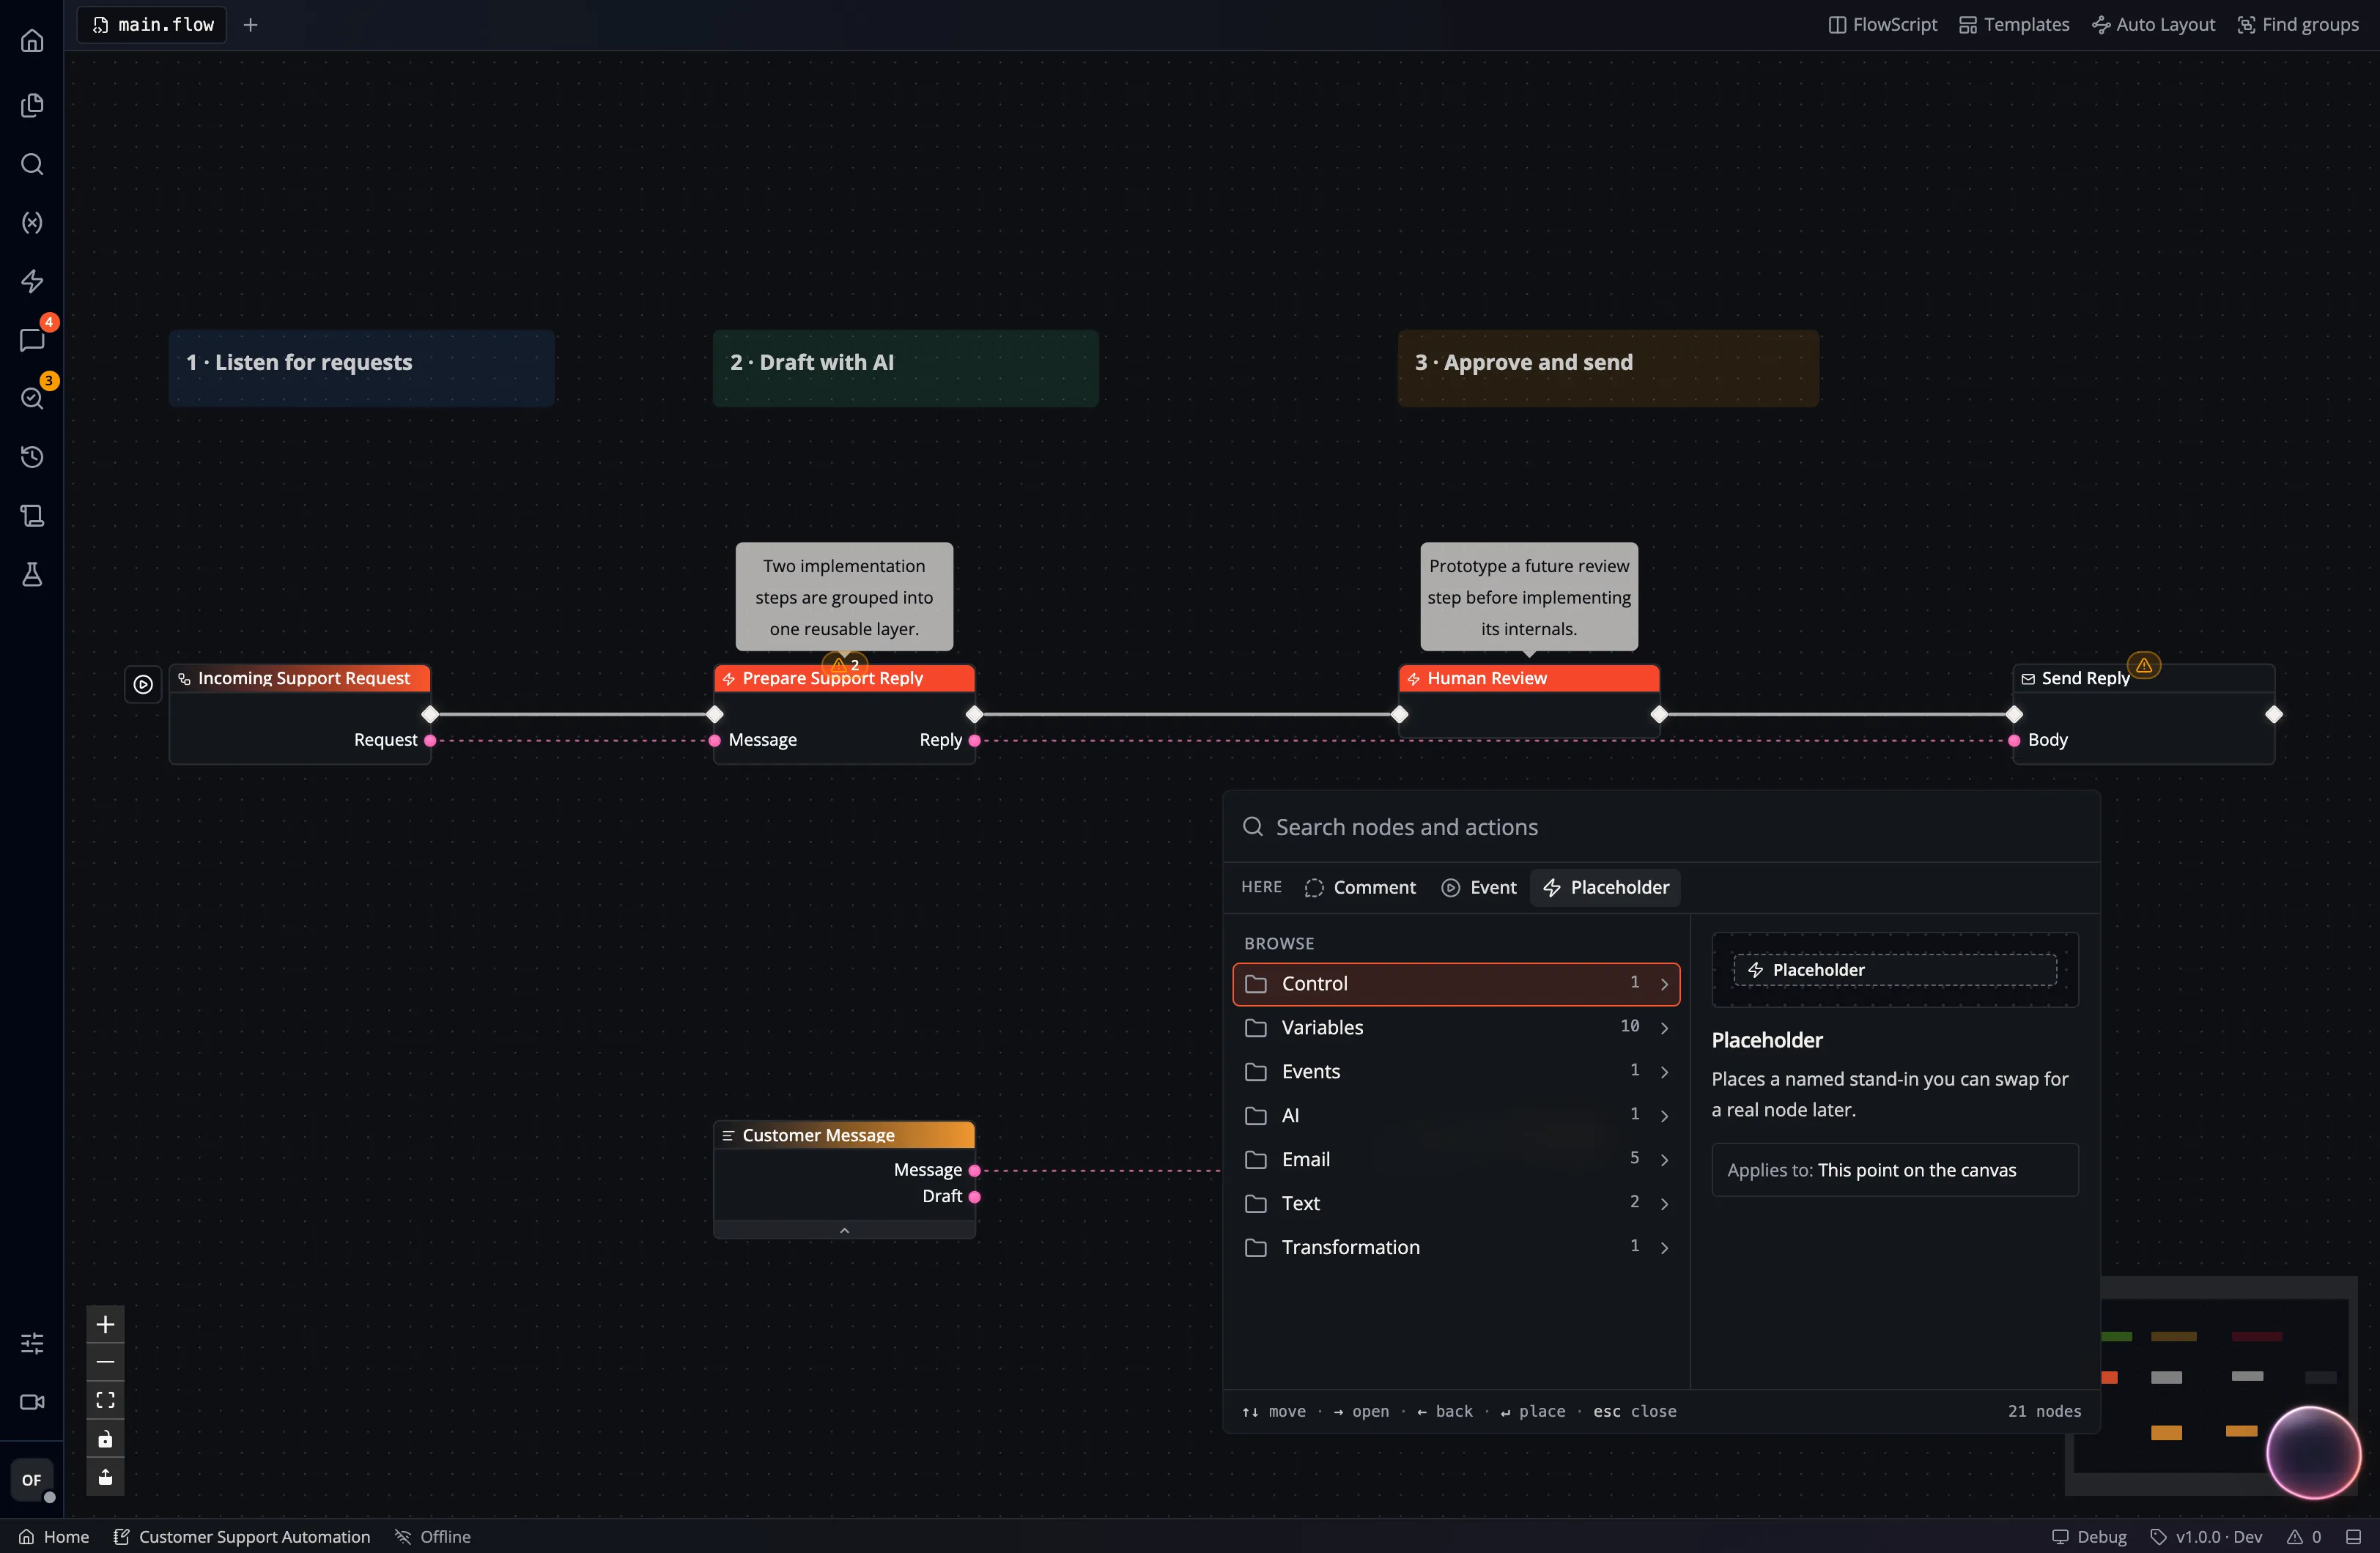
Connect the Placeholders to sketch the workflow, then double-click each one to add its implementation. Check its internal execution and data connections before relying on its outputs.